Difference between revisions of "Zynthian Webconf debug with Visual Studio Code (VSC)"
| Line 27: | Line 27: | ||
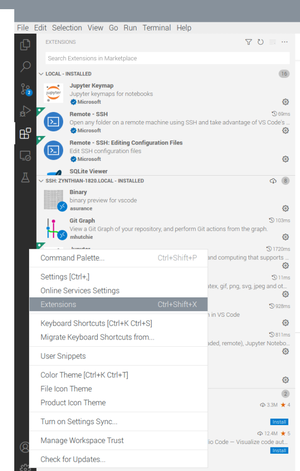
Firstly we need to add the extensions. | Firstly we need to add the extensions. | ||
| − | [[File:Vsc extensions.png|thumb|center]] | + | [[File:Vsc-extensions.png|thumb|center]] |
activated by the cog in the bottom left hand corner of the Visual Studio Code interface | activated by the cog in the bottom left hand corner of the Visual Studio Code interface | ||
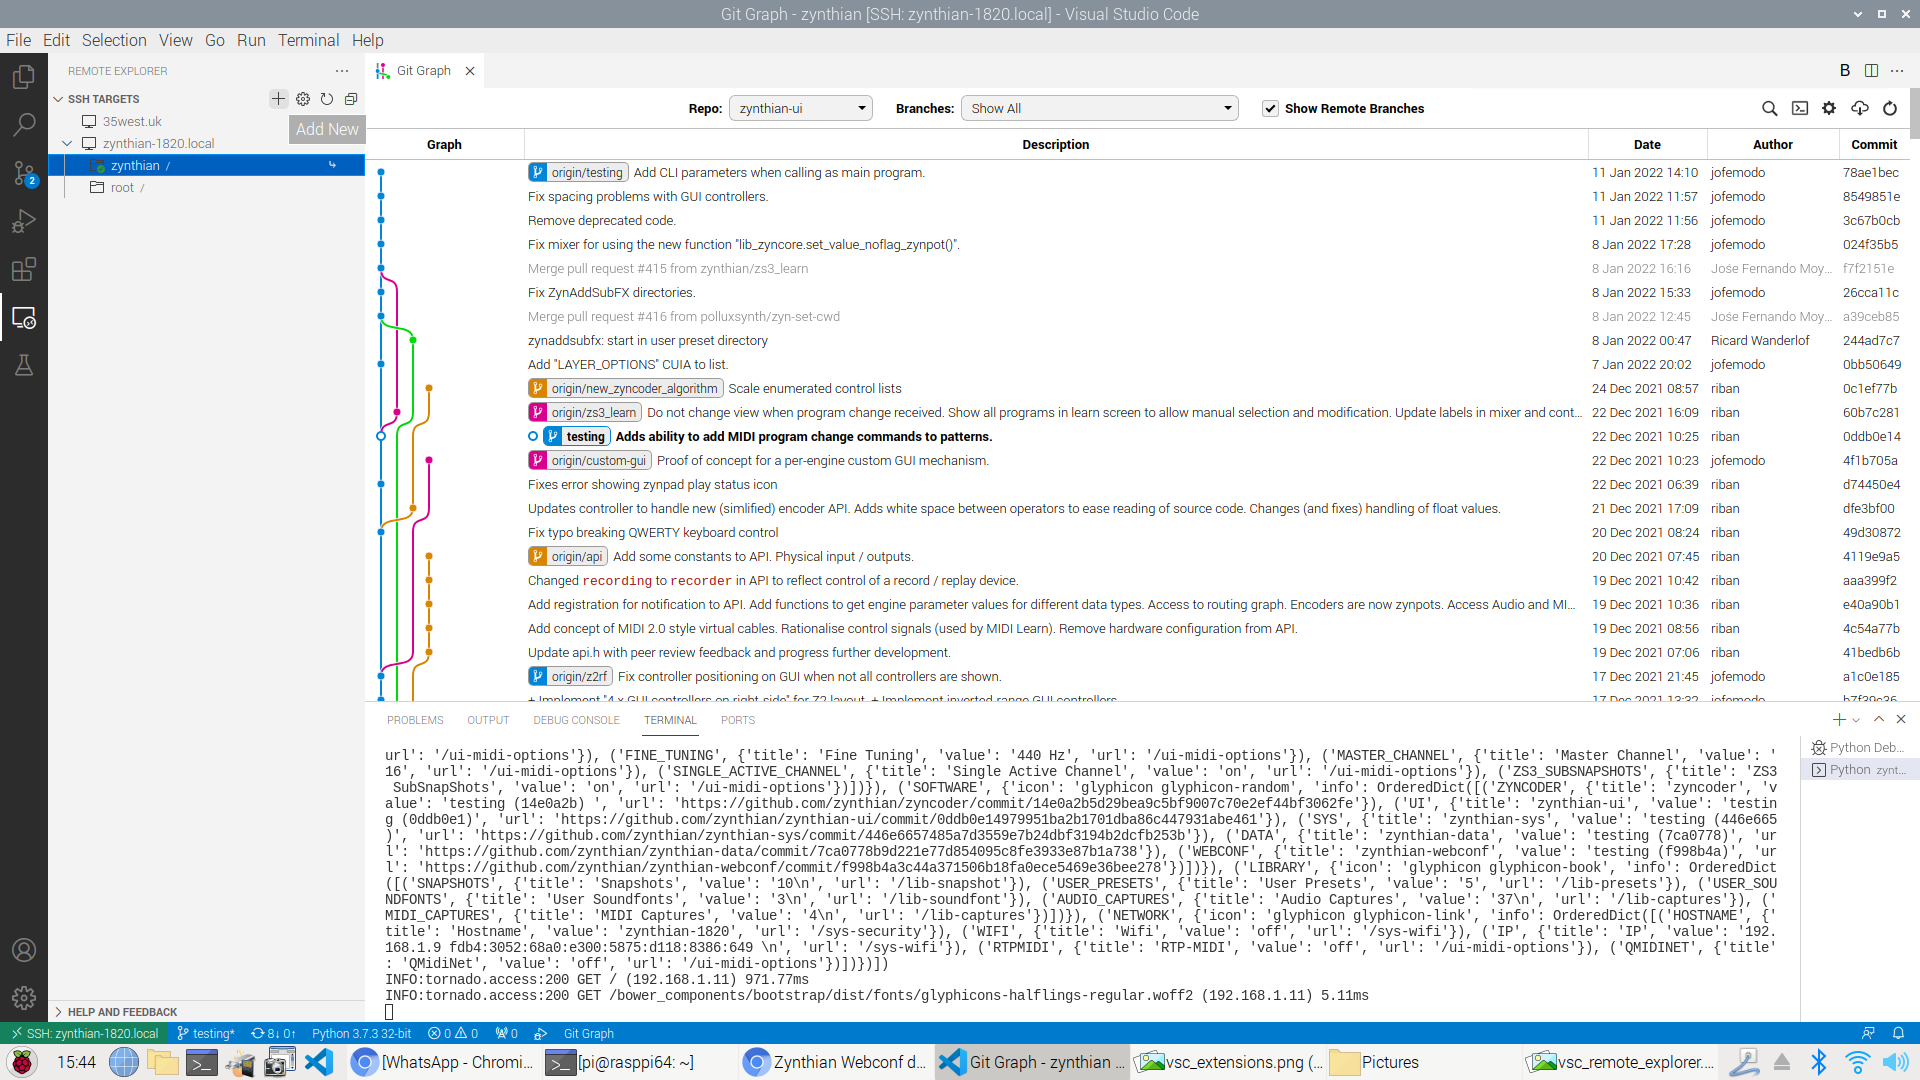
| − | [[File:Vsc remote_explorer.png|thumb|center]] | + | [[File:Vsc-remote_explorer.png|thumb|center]] |
| + | |||
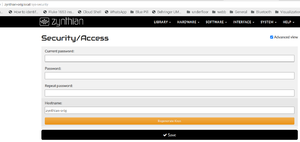
| + | [[File:Zynthian-sys-security.png|thumb |center]] | ||
| + | |||
| + | [[File:Vsc_remote_explorer_add_new.png]] | ||
| + | |||
| + | [[File:Vsc_remote_explorer_dialog.png]] | ||
Revision as of 16:32, 11 January 2022
Debugging Webconf with Visual Studio Code
This is presented as an example of how a Visual Studio Code can be used to examine a component of the zynthian sub system as it runs using the Visual studio Code extensions, python & remote-ssh. These are loaded using the cog dialog at the bottom of the vsc code page.
Once you have these components added you can attempt to log onto an existing Zynthian from your PC, MAC, or linux machine, just so long as it's capable of running Visual Studio Code. In my own case I have it running on a 64 bit Raspbian instance, and I had to build it from source to get it running which is a degree of proof of the overall flexibility of what is after all a Microsoft product!
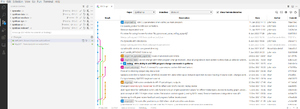
I also tend to add the git-graph extension.
The ssh connection
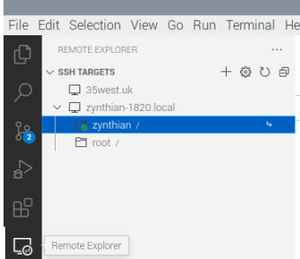
The addition of the remote component adds the Remote Explorer element
I already have a couple of remote zynthians in the machine and VSC is pretty tenacious at hanging onto remote instances it knows about. But we will try to add a new machine.
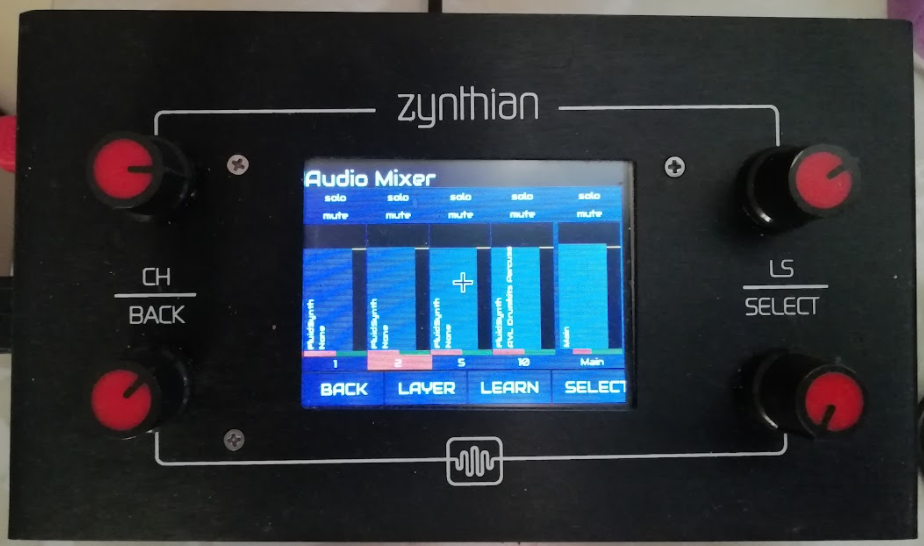
I have a zynthian called zynthian-orig.local. It's actually a genuine zynthian product running a Pi3 and no membrane switches and some fairly simplistic interface. Indeed it has to be disassembled to change the ssd. Such were the early days.!
Visual Studio Code Configure.
Firstly we need to add the extensions.
activated by the cog in the bottom left hand corner of the Visual Studio Code interface
