Assembling Zynthian Kit V5.1
Install the thermal block
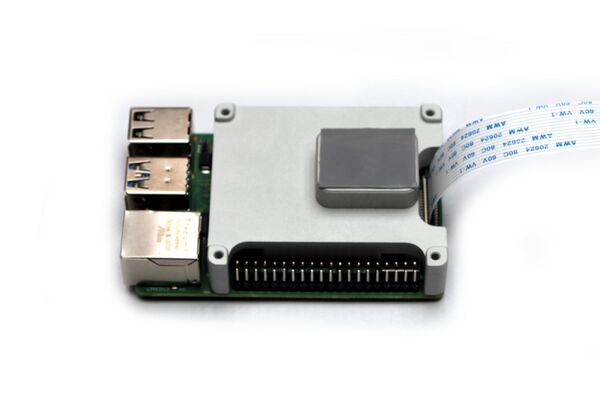
Zynthian V5.1 gets a 25% extra power from the RPi5 by overclocking the CPU up to 3 GHz. For this to work properly, we need to remove the heat generated by the RPi5's components. As we don't want a noisy fan, prone to failure, pushing dust inside our nice case, we are using the aluminum case as a huge heat-sink. This is achieved by the thermal block, a solid aluminum block that closely contacts with the RPi5's chips and serves as a heat-highway to the aluminum case bottom, and from there, to the rest of the aluminum case. When your zynthian V5.1 is working hard, or when external temperature is high enough, you will note the aluminum case getting hot. This is good because it means the thermal block is doing its job of transferring heat from the inside to the aluminum case body, where it's dissipated to the ambient environment.
Having understood all this, you may realize this is a key step for getting your V5.1 working at 100% of its capacity, so don't be in a hurry and take your time to do a good job. Let's start!
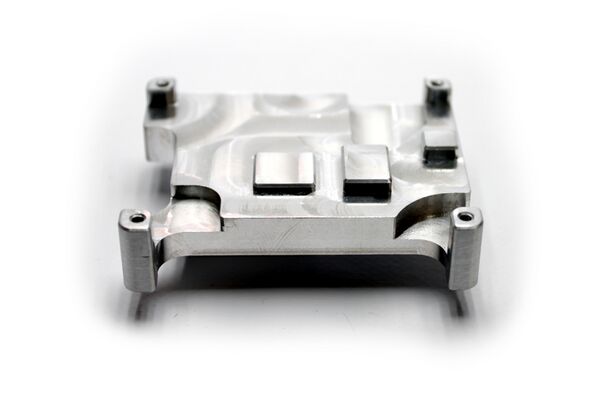
1. Look for the thermal block in the accessories case.
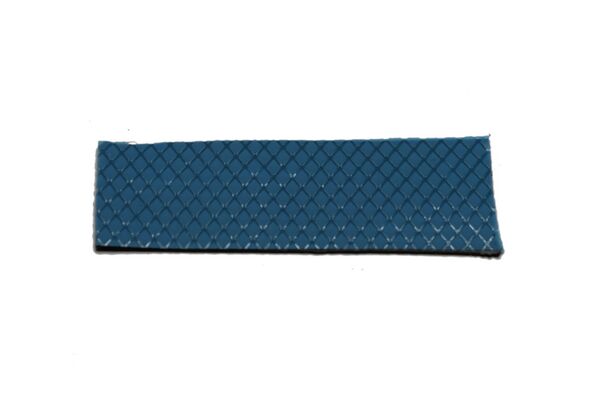
2. Look for the piece of thermal pad in the wiring bag, in the "Screen and Bits" case. It is a piece of approximate size of 60 x 20 mm, gray on one side and blue on the other.
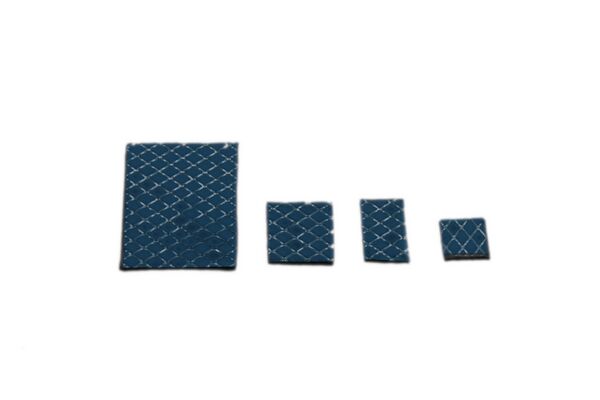
3. Using the rule-meter and the scissors or cutter, cut 4 little pieces of thermal pad with these apr sizes:
- 20 x 28 mm
- 19 x 12 mm => This is the most important one!
- 14 x 9 mm
- 11 x 11 mm
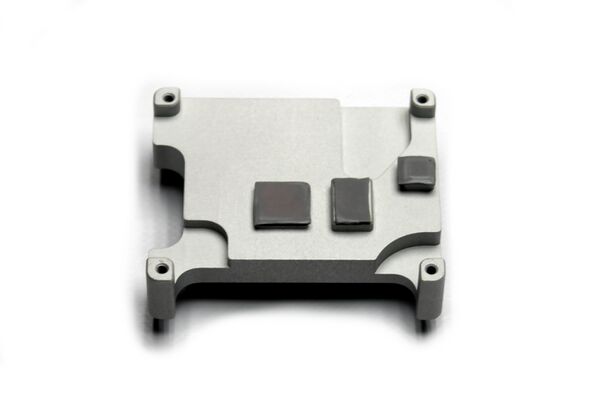
4. Remove the blue protective sheet from the 3 smaller pieces and stick them to the inner side of the thermal block, the one that makes contact with the RPi5. You'll recognize it because it has 3 small rectangular islands that fit the size of the 3 smaller pieces you cut out. You can use your finger to stick it, pressing and extending the thermal pad. Use your fingernail to cut off the excess, if any.
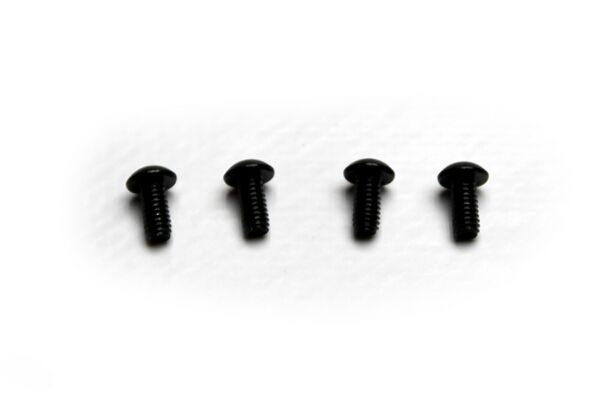
5. Take 4 x ISO7380 M2.5 screws. They are the smaller ones with rounded head.
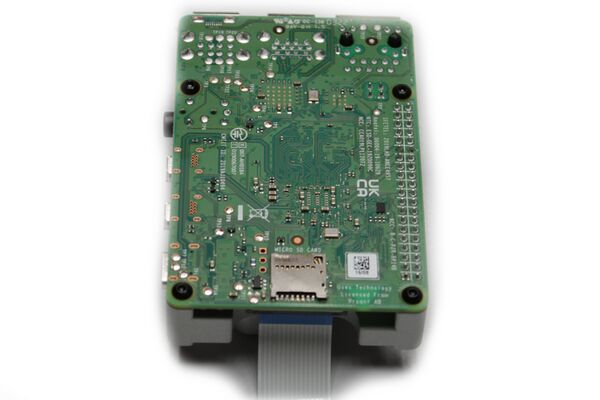
6. Remove the transparent protective sheet from the 3 pieces of thermal pad and fix the RBPi4 compute module to the thermal block using the 4 x ISO7380 M2.5 screws.
7. Finally, stick the remaining piece of thermal pad (27 x 20 mm) on the contact surface in the external side of the thermal block. That is, on top of the "tower" with 2 tiny holes. Follow the same procedure you already did with the 3 smaller pieces, but don't remove the transparent protective sheet yet. This will be done later, when installing the module in the aluminum case bottom.
